

Ready to Start Brushing?
Check out these tips before powering on so you can get that next-level clean.

Getting Started
Let’s Keep Things Simple
with
3 Easy Steps
Your brush is charged and ready to go! To ease into it,
give Sensitive Mode a try—we’ve already set it for you.

Cover the Brush with Toothpaste
You may notice more foam with electric. That just means it’s removing all the gunk from your teeth.

Place and Power On
Before you power on, place the brush with paste in your mouth.

Let the Brush Do the Work
Simply guide the brush as it cups each tooth, no need to scrub!

Let’s Take It from the Top: The Brush Head
The Brush Head
Our round brush head hugs, cleans, and gets in between teeth, reaching areas a rectangular brush can't. Get ready to notice a big difference!
Watch How Round Cleans Better


Let’s Talk Bristles
Bristles lose their touch. Change your brush head every 3 months for 100% cleaning power.
When bristles fade to white, you’ll know it’s time to swap.
Choose your Calendar

Your Brush Head
![]() Deep Clean
Deep Clean
360° Advanced Deep Cleaning.

Dual-length bristles for cleaning -even in hard-
to-reach areas.
Spiraled bristle
pattern for better
adaptability.
Thousands of bristles
angled at 16° for superior
plaque removal.

Dual-length bristles for cleaning -even in hard-to-reach areas.

Spiraled bristle
pattern for better adaptability.

Thousands of bristles angled at 16° for superior plaque removal.

Use the
Right Pressure
Lighten up your gum care—the brush slows down for you if you ever overdo it.
Watch Video to See How the Sensor Works

PROTECTION & COMFORT
Gentle on Gums,
Tough on Plaque
Brushing too hard doesn’t
clean better, and it can hurt
your gums!
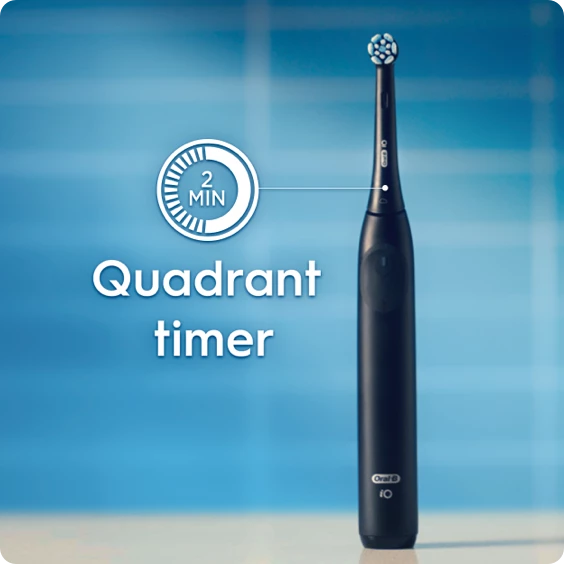
2-Minute Vibrating Timer helps you brush for just the right amount of time.

Pressure Sensor helps you brush with just the right pressure, every time.
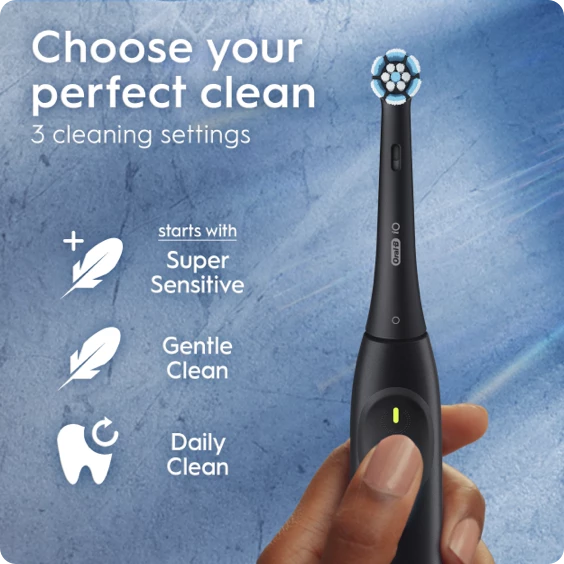
Your brush starts in Super Sensitive Mode for brushing that is gentle on gums, tough on plaque.

Your Clean, Your Way: Settings
Settings
Your brush is set to Sensitive. You can try all 3 settings by pressing the power button.
Watch the Video to Check Out the Settings
Looking to save your favorite cleaning setting as your first cleaning setting? Go to your favorite cleaning setting, then press and hold the button for 3-4 seconds. The brush will first turn off, and then the light will flash green to indicate the a mode has been saved.
MAINTAINING YOUR CLEAN
Caring for Your Brush is Easy—here's how!
Fun fact: your brush is waterproof—some people even use it in the shower.
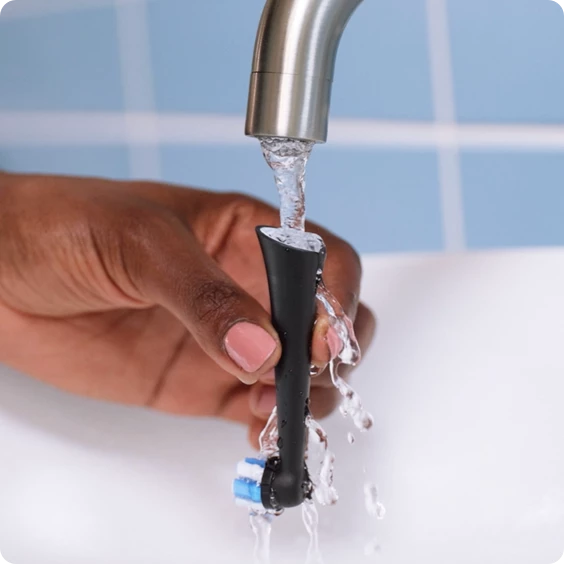
3 Steps to Keep Your Brush Clean
- Pop off the brush head from handle
- Rinse brush head and handle
- Separately store handle and brush head upright
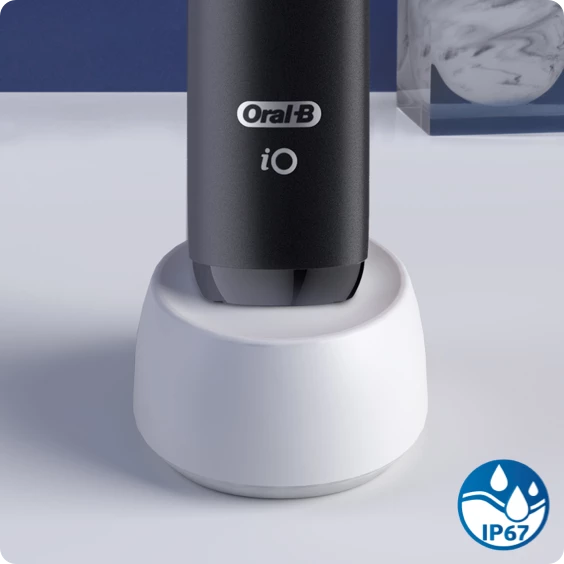
Your Charger is Water-Resistant & Dust-Proof
You can get it wet, rinse it off, and wipe it clean—just don’t completely submerge it in water!

Steps to Keep Your Brush Clean
- Pop off the brush head from handle
- Rinse brush head and handle
- Separately store handle and brush head upright

Your Charger is Water-resistant!
You can get it wet, rinse it off, and wipe it clean—just don’t completely submerge it in water!
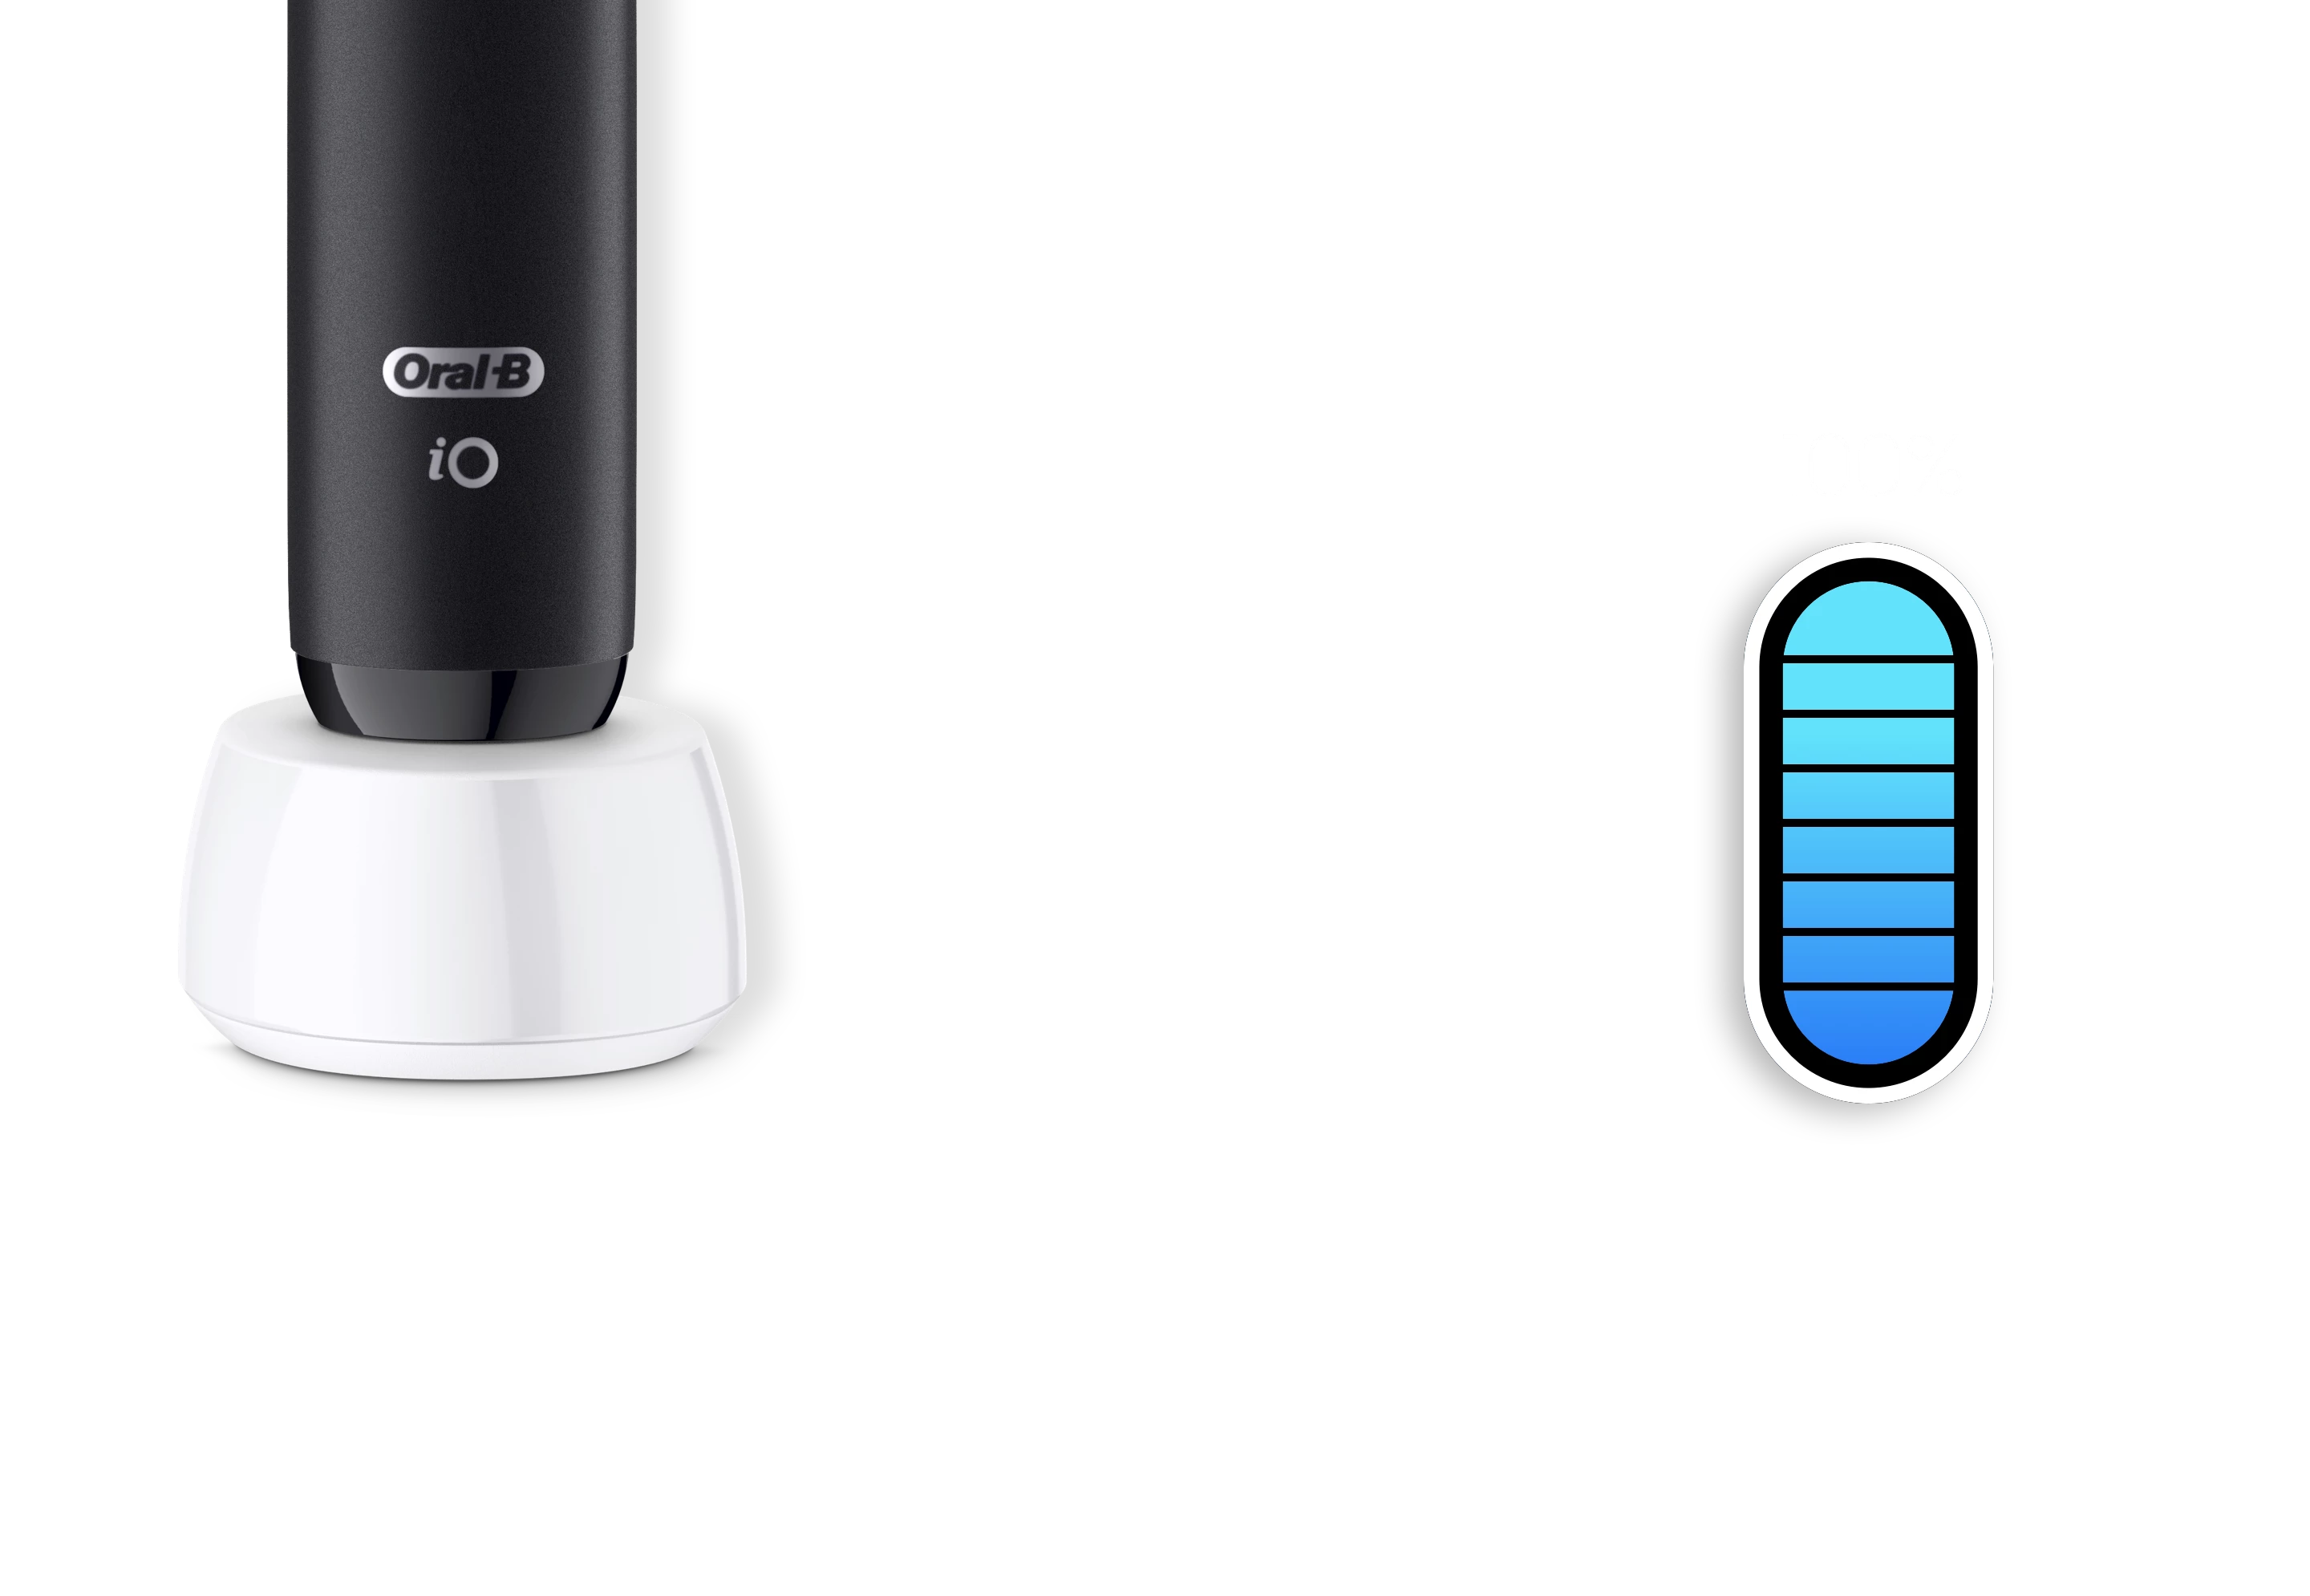
Charging Base
Your brush comes charged and ready to go.
Keep your brush on the charger, or not — it’s your choice.
It’s designed to never overcharge for max battery life.

You’re all set.
Let’s start brushing!


